Interesting Tech Projects
WH1080 Weather Station and Weather Underground
A couple of years ago I bought a WH1080 weather station (e.g. Fine Offset, Mapin). It’s available under many brands from many outlets all over the world and is very common. Here are pictures of what this cheap weather station looks like:

I had the touchscreen connected to a Linux sever via USB and used pywws to upload to Weather Underground. This worked well until USB broke so I had to look for a new solution.
Kevin Sangeelee had developed some code that allowed a Raspberry Pi to receive the 433MHz radio signals and decode them. It also had support for a pressure sensor. Perfect. The code can be found here: http://www.susa.net/wordpress/2012/08/raspberry-pi-reading-wh1081-weather-sensors-using-an-rfm01-and-rfm12b/
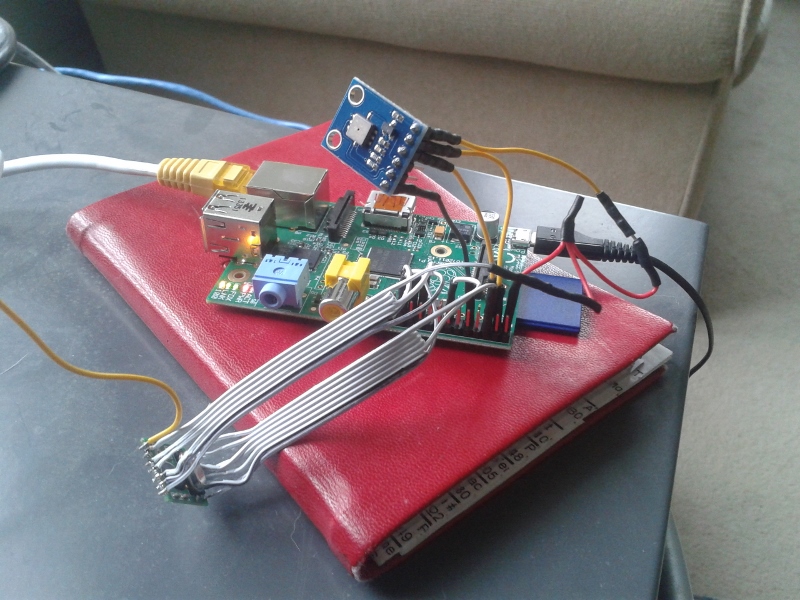
The RFM01 was obtained from Maplin for about £4 and was trivially connected to the RPi. Kevin’s article gives the connections. Note: I didn’t use any resistors.
The BMP085 was also easily connected. Purchased from eBay for about £6 it connects directly to the I2C pins. Again, no resistors needed.
The first step was up update Kevin’s code for revision 2 of the RPi. This is required because a GPIO pin has changed and the second I2C bus is now used.
Now I ran into a stumbling block – how to get the data into pywws. I hoped that this problem had already been solved but unfortunately I would have to start writing custom python modules. After thinking about it for a while I decided that all I needed was to upload data to Weather Underground. I didn’t need the other features of pywws. Fortunately Weather Underground has a simple way of uploading using a HTTP GET request. The data just needed to be massaged into the correct format. While I was at it I decided to use the rapid-fire updating. This means that Weather Underground displays new data from your station roughly every 48 seconds – you can watch it continually update.
You can get the code from GitHub here: https://github.com/ajayre/WH1080-Weather-Underground.
Create a text file in the same folder as the executable called wunderground_creds.txt. On the first line enter the name of your weather station ID, for example IWESTYORKS30. On the second line enter your Weather Underground password.
Compile, run and follow Kevin’s instructions for setting up and tuning. Don’t forget to enable the SPI and I2C modules on the RPi. Also make sure you run:
sudo dpkg-reconfigure tzdata
to set the timezone.
Make sure the path to the credentials file in wunderground.c is set correctly. To start the program on boot I used the following in a boot script:
sudo screen -d -m /home/pi/weather/wh1080_rf
| Print article | This entry was posted by Andy on June 7, 2014 at 3:10 am, and is filed under Linux, Software Engineering. Follow any responses to this post through RSS 2.0. Both comments and pings are currently closed. |
Comments are closed.


about 9 years ago
Hi Andy,
Just wondering if you could help. I am totally new to raspberry pi and would love to have this working but I can’t wrap my head around what I need to do! I have a rev 2 board and wheezy installed on it and also downloaded your code on the RPI but after that I am clueless!
Thanks
about 9 years ago
Your best bet is to read Kevin Sangeelee’s article that is linked to in my post. He wrote most of the code and provides instructions on how to use it. I simply added Weather Underground support to it. To get started you need to ‘cd’ into the folder with the code and then enter ‘make’ followed by ‘wh1080_rf’.